
In general, this booking system allows for greater customization compared to other systems.
Customers can book a table at a restaurant or order food or drinks from the table and keep track of the status of their reservation or order.
This system allows the hotel to:
- Adapt the booking system to its facilities and operations, choosing between booking, orders, or both.
- Lay out, view, and control bookable units and spaces inventory.
- Combine different spaces and availability schedules.
- Apply restrictions by quota, length of stay, or type of customer, as well as specify minimum and maximum advance booking.
- Keep track of the status of each reservation or order and keep both customers and staff informed.
What are the steps to activate Restaurants PRO?
- Have a restaurant created on the CMS (Content > Facilities > Restaurants)
- Select PRO as the booking system (Content > Facilities > Restaurants > Timetable and reservations)
- Go to PRO Settings (button at the end of the screen, or PRO > Settings)
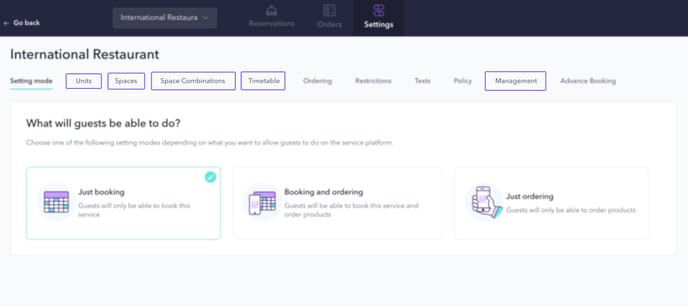
- Select a setting mode according to what you are going to allow the customer to do: just booking, just ordering, or both (PRO > Settings > Setting mode)
Once you have chosen a setting mode, there are 5 steps to follow in order to start using this system (regardless of the chosen option):
- Create your inventory of units or tables (Settings > Units)
- Create the spaces where you will set up the tables (Settings > Spaces)
- Define the events or service shifts according to the spaces you need (Settings > Spaces combinations)
- Set an availability schedule for bookings or orders (Settings > Timetable)
- Give access to the management system to your staff (Settings > Management)
If you chose to take orders, there is one more step: activate the availability schedules for orders and select a product menu. You can do this from Settings > Ordering.

Once these configurations are done, you are ready to start receiving bookings or orders.
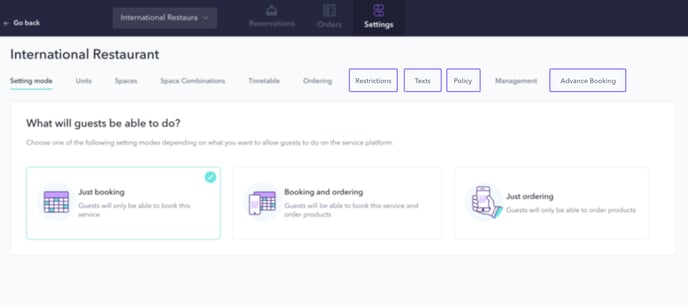
If you want further customization, there are 4 more steps that are optional:
- Apply restrictions: define the maximum and minimum advance booking time and apply restrictions per day, according to the length of stay or according to the type of customer (Settings > Restrictions)
- Customize texts displayed during the booking process (Settings > Texts)
- Include a booking policy (Settings > Policy)
- Define the payment options (Settings > Payments)
Once you start receiving bookings or orders, you can manage their status from the Reservations and Orders sections on the top menu.
For more detailed information on each of the steps, please refer to the Advance section of STAY Academy or click here.